
Getting started
15-minute quickstart
WordPress sends password links, user notifications, form emails, shop orders and admin messages. FreddyMail bundles all of them into one controlled workflow with a delivery profile, templates and logs. This checklist takes you in six steps from a fresh install to a first successfully delivered test email.
The 15 minutes are setup time in a prepared WordPress installation: activate the plugin, save the delivery profile, send a test email and inspect the log. The reading time is shorter because this article is a route through the detailed guides.
How delivery works
When WordPress or a plugin triggers a transactional email, FreddyMail identifies the context, applies the matching template, hands the message to the active provider and records the result in the log.
The 6 steps
- Activate the plugin. Upload the ZIP, activate it, open FreddyMail in the admin and check the license status. The FreddyMail menu item should be visible afterwards.
- Create a delivery profile. Enter SMTP or API provider details, set a sender, save authentication and verify SPF/DKIM/DMARC for the domain.
- Send a test email. Send to at least one external mailbox. Gmail, Outlook and an address on your own domain are better because they filter differently.
- Review email types. Map system mails, WooCommerce mails and custom hooks to the right templates. Confirm missing types in the log before adopting them.
- Test the design. Save the template, check desktop and mobile preview and open real test emails. The preview does not replace inbox testing.
- Watch the logs. Verify the first live emails, filter for errors and read provider responses. A green provider status means accepted, not necessarily inboxed.
What you should know after step 6
The quickstart does not need to perfect every detail. It should leave you able to answer these questions:
- Which provider is sending right now?
- Which sender address does FreddyMail use?
- Which test email was actually accepted?
- Which email type was detected in the log?
- Are there any
Error,QueuedorSkippedentries?
If an answer is missing, jump into the linked detail guide. That keeps the 15-minute path short without hiding important checks.
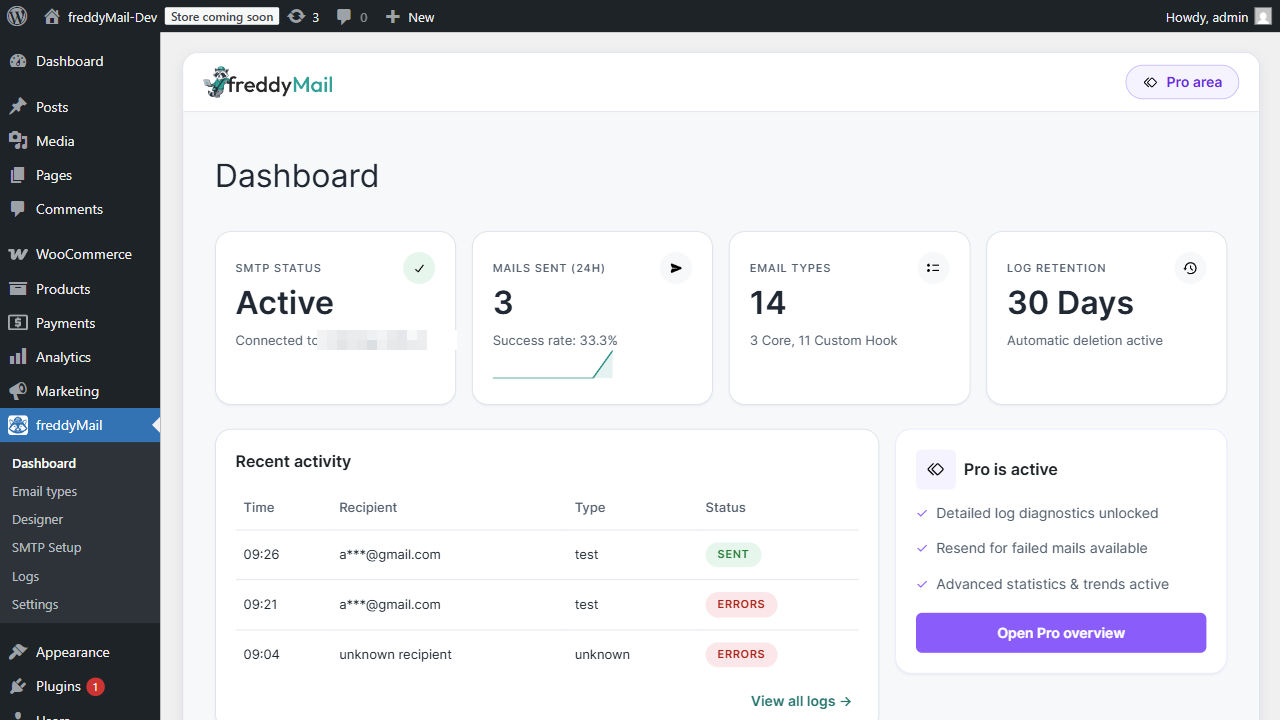
Read the dashboard
The dashboard is your sanity check after every step. Three cards are enough for a first assessment:
- SMTP status — is FreddyMail currently handling delivery?
- Mails sent — is WordPress actually sending through FreddyMail or bypassing it?
- Email types — are WooCommerce and custom hooks detected?